There are some interesting and fun visualizations of the rock image sites on this tour, designed to give you an experience comparable to that you might have at the actual sites themselves. They’re pretty easy to figure out on your own, but here’s a brief introduction to how all of them work. Note: A high-speed Internet connection is highly recommended for this site. If you’re using a metered mobile connection, just be aware that it may use quite a bit of your bandwidth quota.
Site Number:
Walnut Canyon National Monument assigns every discovered archaeological site an ID, prefixed by “WACA” for WAlnut CAnyon, and then a numerical designation. Generally, site numbers do not have any significance other than indicating the order in which sites were discovered and/or recorded.
Site Pages:
The main page for each site will typically have a 360-degree panorama and a 3D model of the site. But be sure to check the links on the right of every page for pages with additional content. Some of these are labeled “A Closer Look”, for flat panoramas that you can zoom into for a closer look. Present for some of the petroglyph sites are links for “In A Different Light”. These show photographs taken at oblique lighting angles, which highlight petroglyph features. For some sites, there is a viewer for Reflectance Transformation Imaging (RTI) data, which allows you to manipulate the lighting angle to make features more visible; information on how to use the viewer is given below. Links to these additional pages will also be included in the main page for each site or panel.
Panoramas:
Panoramas will show up in a window, with a toolbar at the bottom. There are both 360-degree panoramas, which let you look in all directions, and flat panoramas which let you zoom in close to see fine detail.

- Left two controls: Some pages have multiple panoramas, and these controls let you switch between them.
- Magnifying glasses: Zoom in (+) or out (-) of the panorama. You can also use the scroll wheel on your mouse to zoom in or out, as well as the +/- keys on your keyboard.
- Arrows: Move the panorama in the specified direction. You can also click in the window and drag the view/panorama around, or use the arrow keys on your keyboard. The speed of movement is dictated by how far you click and drag; drag a little, and it will pan slowly, drag a lot and it will spin at a dizzying rate.
- Hand: If you click and drag in the default view, you change the view direction. Click on the hand, and it will drag the image around in the dragging direction.
- Four arrows: Expands the view to fill the entire screen. Highly recommended for optimal viewing. Click again to leave full-screen mode, or press your ESC key.
- ?: Brings up a help screen that shows image movement controls; click on it again to get rid of it.
- Rectangle: Shrinks the toolbar down to a small dash at the bottom of the screen. Click on the dash to bring back the toolbar.
 Some panoramas will have camera icons; these are “hotspots,” where clicking on them will bring up a photo related to that location. Click on the photo to return to the panorama view. Click on the icon at left to make the icons disappear.
3D Views:
All the 3D views on this site are hosted at Sketchfab, a hosting service for 3D objects. They show up on this website as a placeholder screen (below is just a static image):
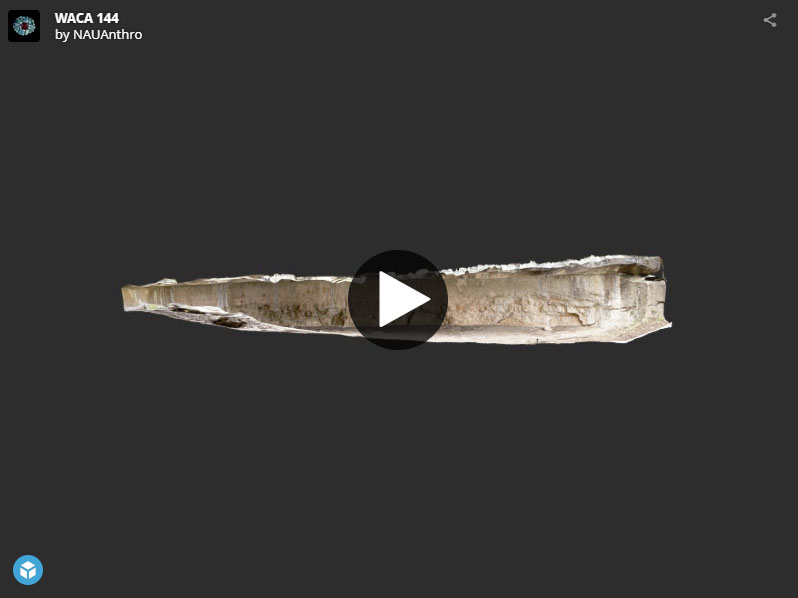
Click on the “Play” button, and the full model will load – it may take a few seconds, depending on the speed of your Internet connection. Basic navigation commands are:
- Click and drag in the image to rotate.
- Right-click and drag to pan; two-finger drag on a phone or tablet.
- Use the mouse wheel to zoom in and out (pinch to zoom on a tablet or phone).
There will be a small control panel in the lower right-hand corner:

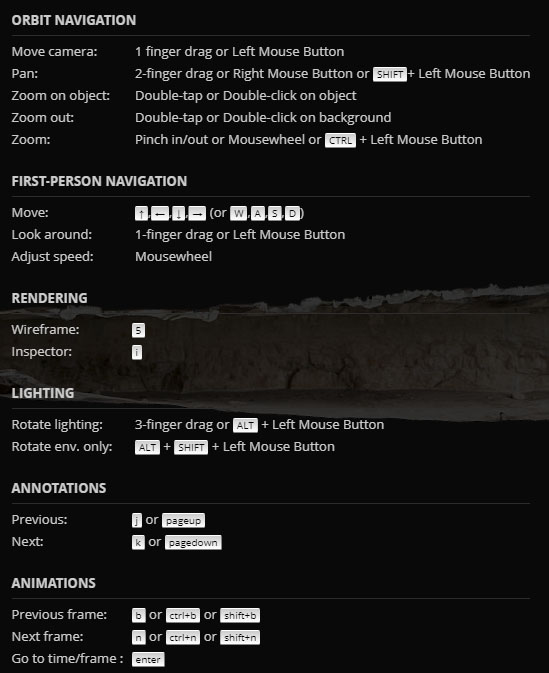
- ? – Brings up the following help screen
-
- HD: Lets you change from the default “Orbit” viewing mode, where you rotate/pan the model, to “First Person,” where you use your mouse and the keyboard arrow keys to walk towards and through the model.
- Stack: Brings up a Model Inspector screen that lets you play with more advanced parameters. Not very useful.
- “Mask”: As with the panorama viewer, lets you view the model in a Virtual Reality headset; won’t work on a computer.
- Two arrows: Opens the 3D model in a separate full-screen window – highly recommended. Window may not open to full size, in which case you should use the window controls at the top of the window to maximize the view.
Some 3D views will have numbers on them; click on the number, and it will take you to a specific view, and bring up some interpretive text.
Reflectance Transformation Imaging (RTI) Viewer:
The petroglyph sites will include RTI views. Using the RTIViewer, you can change the lighting angle, and highlight details in the surface that are difficult to impossible to see under normal lighting conditions. The RTIViewer will have this control panel in the upper left:

- +: Zooms in
- – : Zooms out
- Click-and-drag in the image to pan around the image.
- Mouse wheel will also zoom in/out, but it’s a little weird. You move the wheel back to zoom in, forward to zoom out.
- Light bulb: Click to turn this on, then click and drag in the image to change the lighting angle. Note that you’ll have to click on this to turn it off if you want to pan the image.
- Broken square: Turns full-screen mode on and off. Full screen is highly recommended for the best viewing.
- ?: Brings up a help screen that describes the controls.